guirecognizerapp
guirecognizerapp is the companion application for guirecognizer. It helps create and preview actions and preprocessing operations through a visual interface, before using them in a Python bot.
Installation
Install guirecognizerapp (this will also install guirecognizer)
(venv) $ pip install guirecognizerapp
Launch the application:
(venv) $ python -m guirecognizerapp
The launch script provides a few command-line options.
(venv) $ python -m guirecognizerapp -help
usage: __main__.py [-h] [-n] [-p PORT]

Start the server of the companion application guirecognizerapp for guirecognizer.

options:
  -h, --help        show this help message and exit
  -n, --no-browser  Start the server without opening a browser window.
  -p, --port PORT   Port to run the server on (default: 8000).
Define borders and actions
The first step when creating a configuration file for guirecognizer is to define the borders. The borders represent the absolute coordinates of the screen region that serve as a reference for all actions. All action selections are defined relative to these borders. This greatly improves the reusability of the configuration file across different screen resolutions or setups.
Take a screenshot
Borders can only be defined after a screenshot has been taken or opened.
To take a screenshot: Capture -> Take Screenshot or use the keyboard shortcut Ctrl+Alt+T. If you are working with a single screen, using the keyboard shortcut helps capture the screenshot while temporarily hiding the interface. You can also take a screenshot by other means or open any existing image using Capture -> Open Screenshot.
If you are working with multiple screens, an option exists to take a screenshot with all the screens in the tab Settings under Screenshot Settings.
Define borders
Click on the Make Selection button in the tab Actions.

Click on the Make Selection button to define the borders.
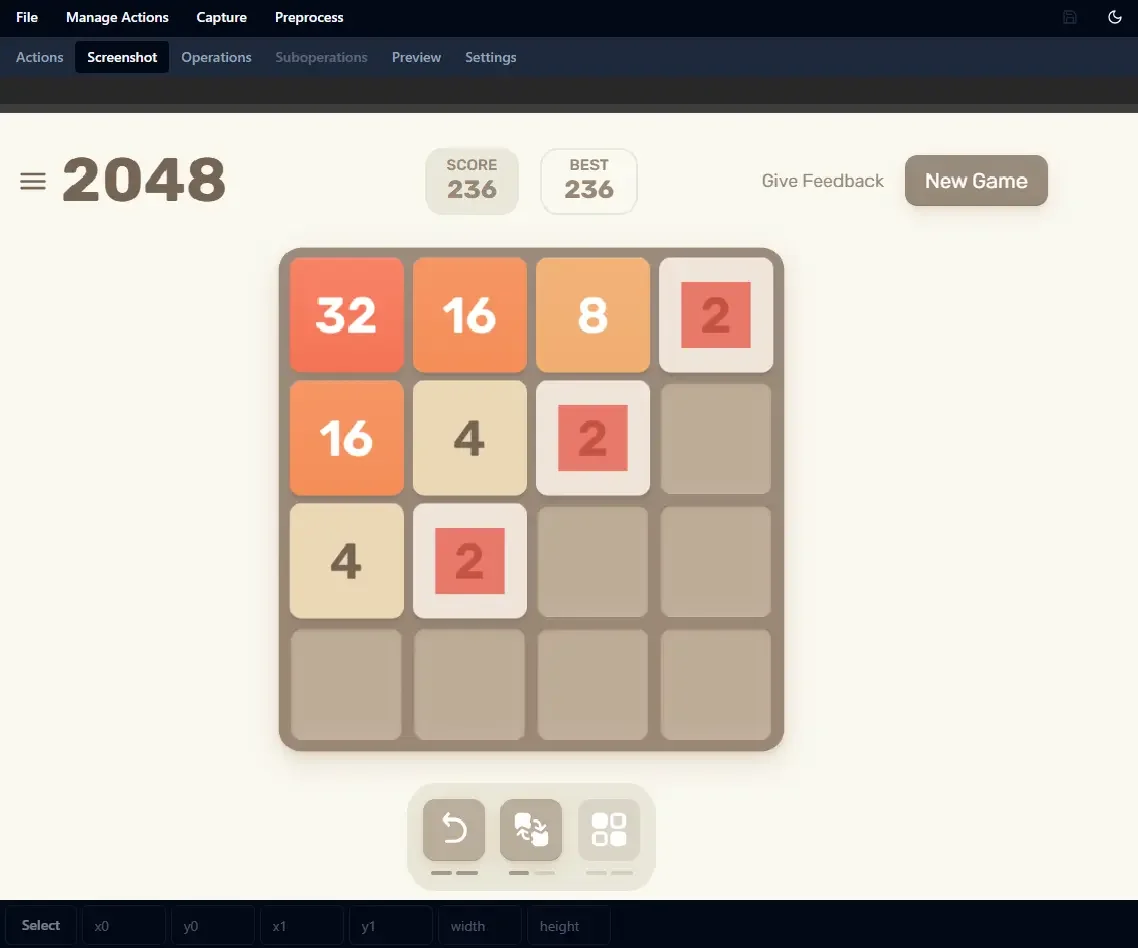
Then select the area by mouse or with the controls at the bottom in the tab Screenshot. The selection can be repositioned or resized using the handles on the sides, resized from opposite sides while holding Alt, or translated horizontally or vertically (keeping its size) while holding Space.
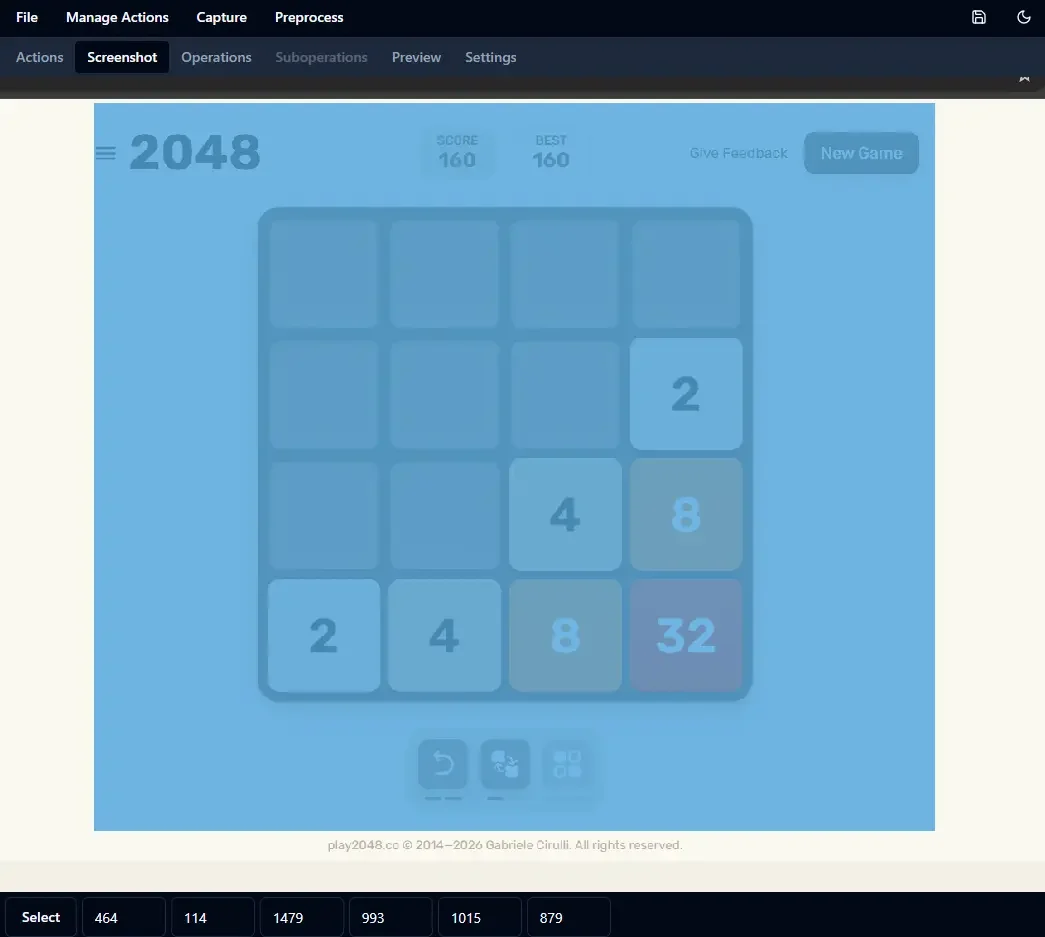
Select the area.
Define an action
To add a new action, use the menu Manage Actions. For an exhaustive list of available actions, see the API.
Every action has an identifier (id), which is required to call the action from guirecognizer. The id is also used in guirecognizerapp for features such as copying the selection from another action.
Let’s say we have an action named getScore with its selection already made. When making the selection of another action, you can copy the selection of getScore from the controls.
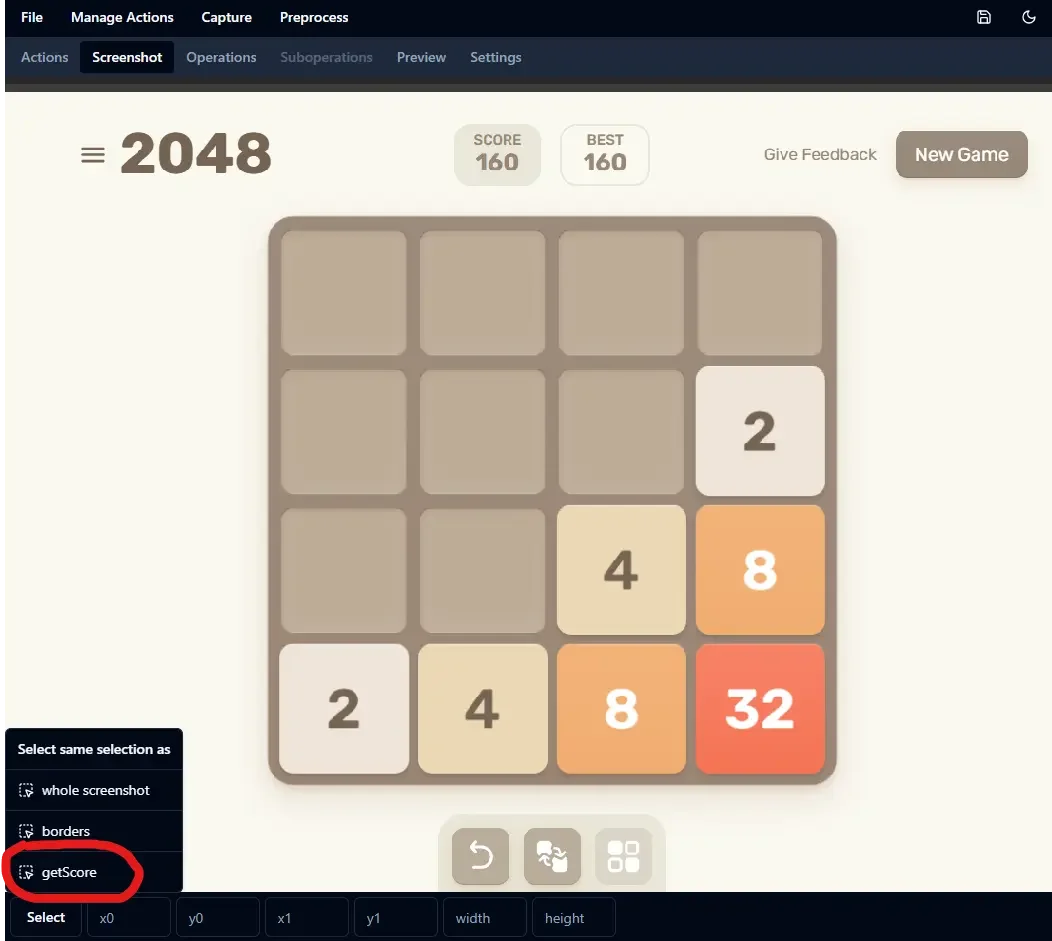
Copy the selection of another action.
Preview actions
One of the main strengths of guirecognizerapp is the ability to preview actions. Defining the right actions with the right parameters and making sure they are reliable can be difficult. This makes previewing the result of an action essential. Debugging actions directly in guirecognizerapp is usually much faster than debugging them from within the Python bot.
Preview an action
To preview an action, click on the eye icon.
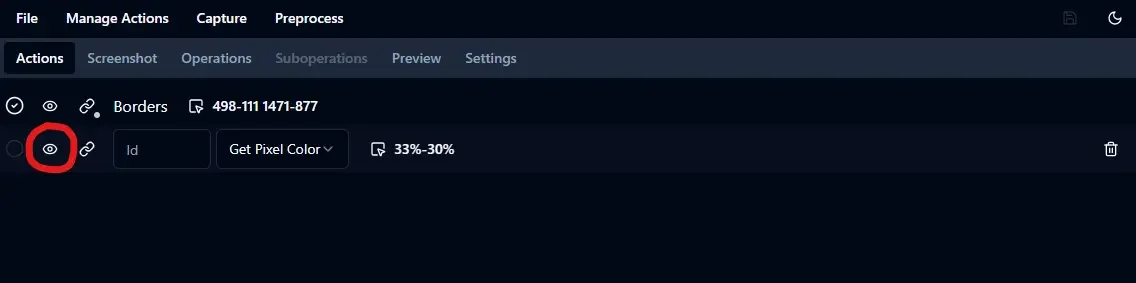
Click on the eye icon to preview the action.
Here is an example with a Get Pixel Color action.
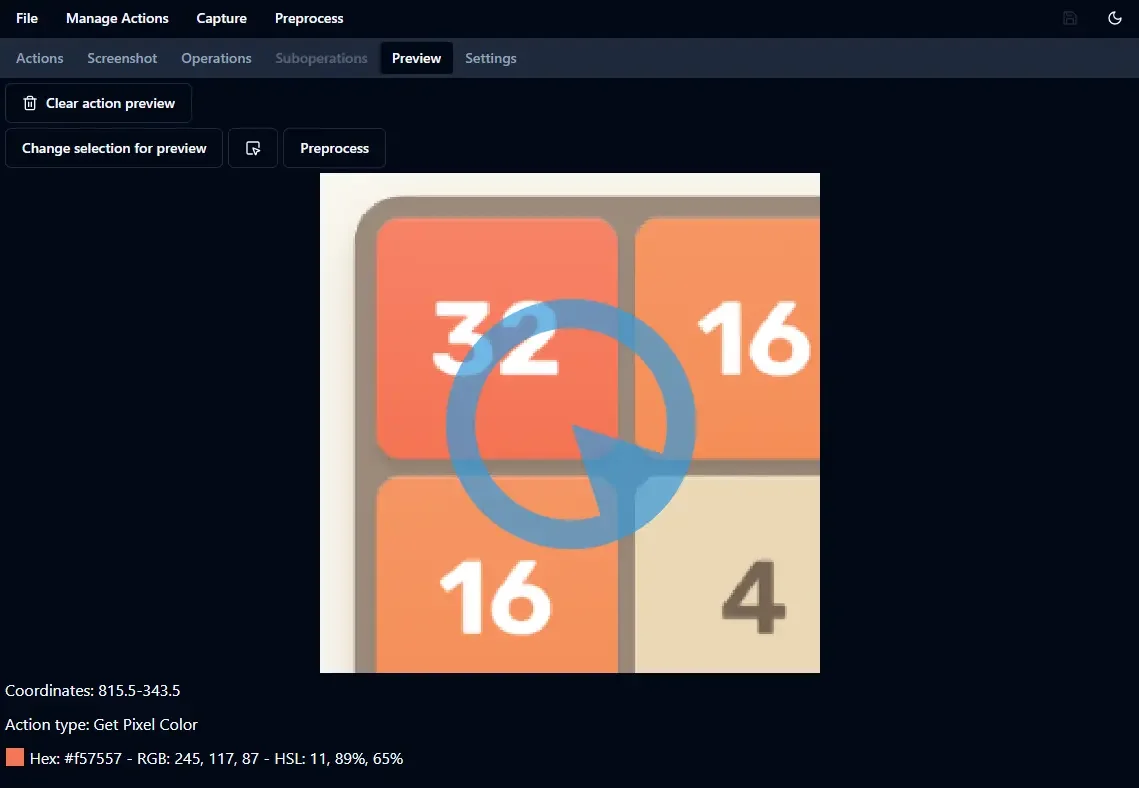
Preview of a Get Pixel Color action.
We get the color of the pixel in different formats. You can preview the same action with another screen selection from the controls at the top. The action can also be previewed with a defined preprocessing operation.
Flow of actions
When applicable, the preview of an action can be extended by executing another action immediately afterward. We call this process pipelining the action. Only pipelines that are relevant to the selected action are available during preview. To pipeline one action into another, the downstream action must have its id defined and, in most cases, its required parameters configured.
Here is an example. Create a Get Pixel Color action: Manage Actions -> Add Action Get Pixel Color. Name it color. Select a point on the screenshot. Create a Compare Pixel Color action: Manage Actions -> Add Action Compare Pixel Color. Name it compare. Select another point on the screenshot. Now preview the action color.
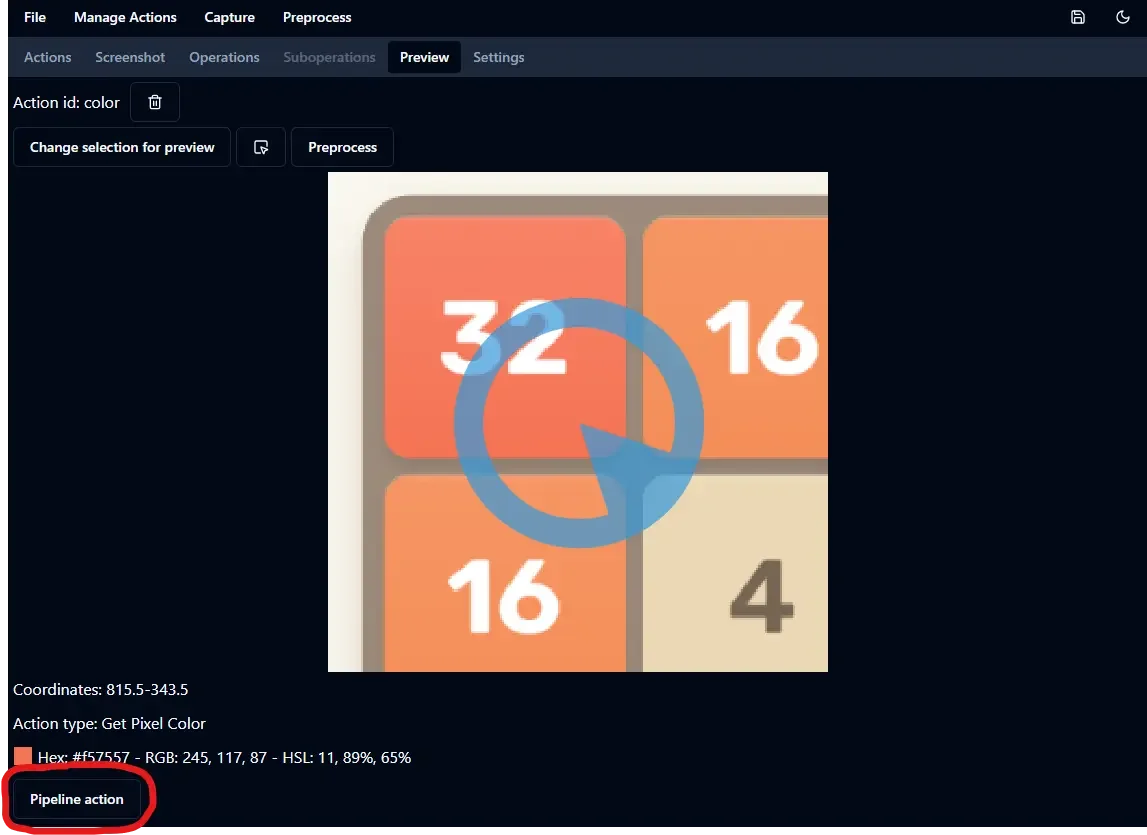
Preview of the action color. The dropdown Pipeline action is available.
Choose the action compare in the dropdown Pipeline action.

Preview of the action color piped with action compare.
After previewing the color action, the compare action is previewed using the color retrieved by color.
Find images
The Find Coordinates of Images Inside Area action provides dedicated preview interactions. In its preview, found images are shown on the action selection. Found images are also listed individually along with their coordinates. Click on the eye icon to display the found images on the screenshot.
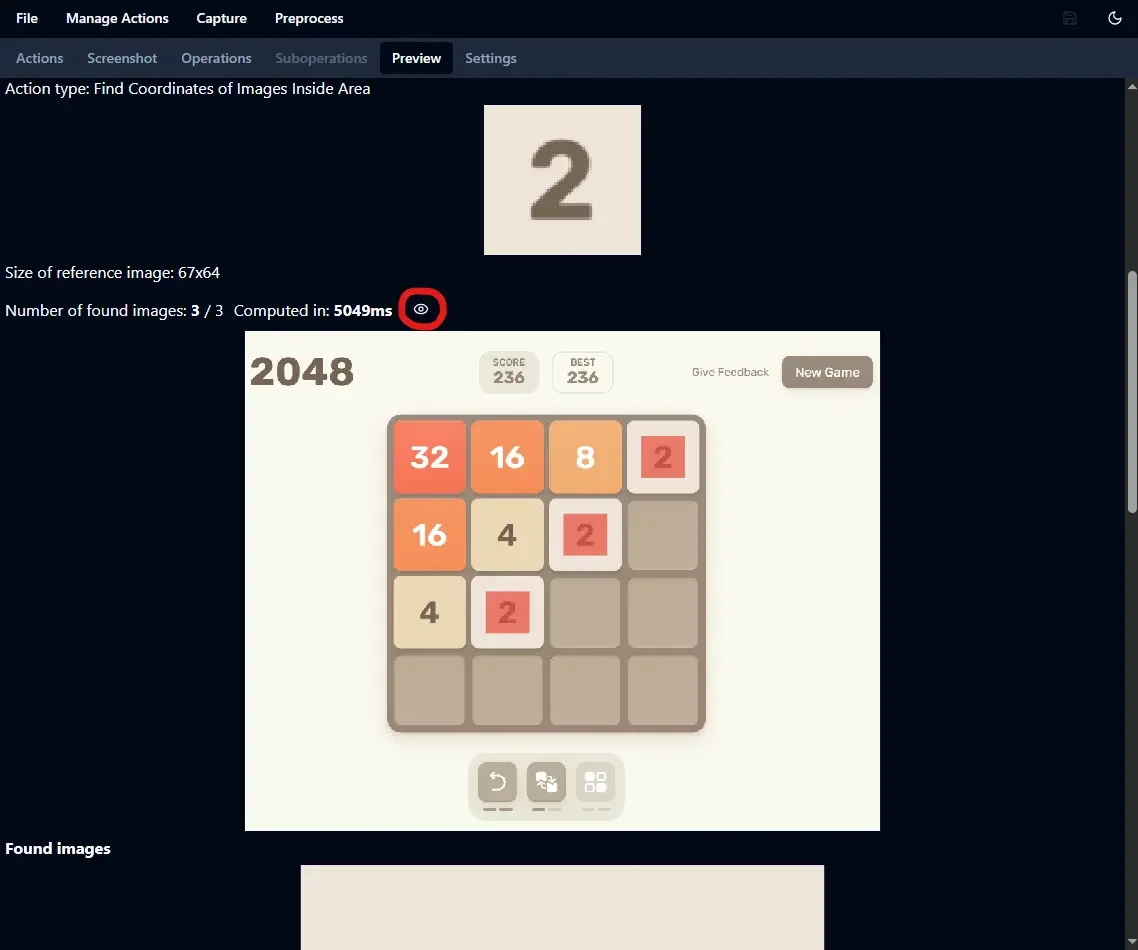
Preview of an action Find Coordinates of Images Inside Area.
The found images are represented with a semi-transparent red rectangle.
Found images on the screenshot.
Recognize text and number
The preview of Recognize Text and Recognize Number actions works like any other action preview. The first preview may take up to a minute due to OCR initialization.
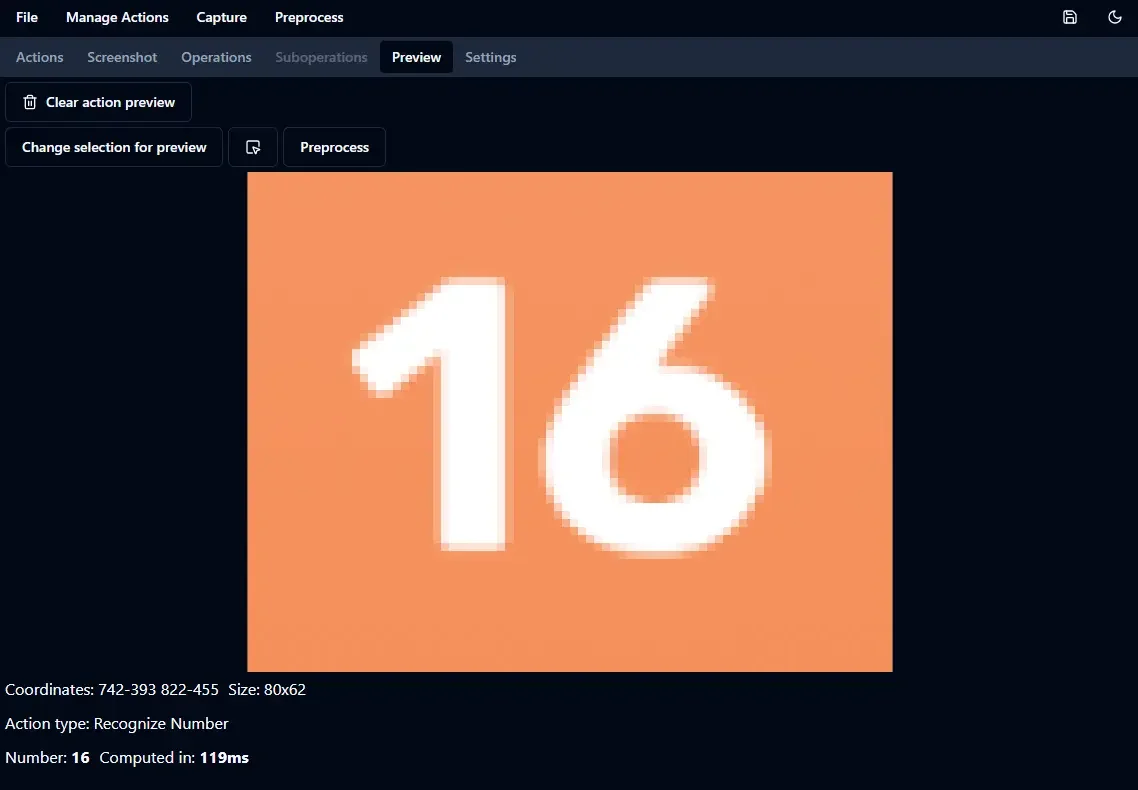
Preview of a Recognize Number action.
The available OCRs are listed in the API OCRs section. In guirecognizerapp, you can change the OCR configuration in the tab Settings. You can choose which OCR is used and their parameters. Note that this configuration is not saved in the configuration file, so the same OCR configuration must also be specified in guirecognizer. How to specify the OCR configuration in guirecognizer is explained in the dedicated API OCRs section.
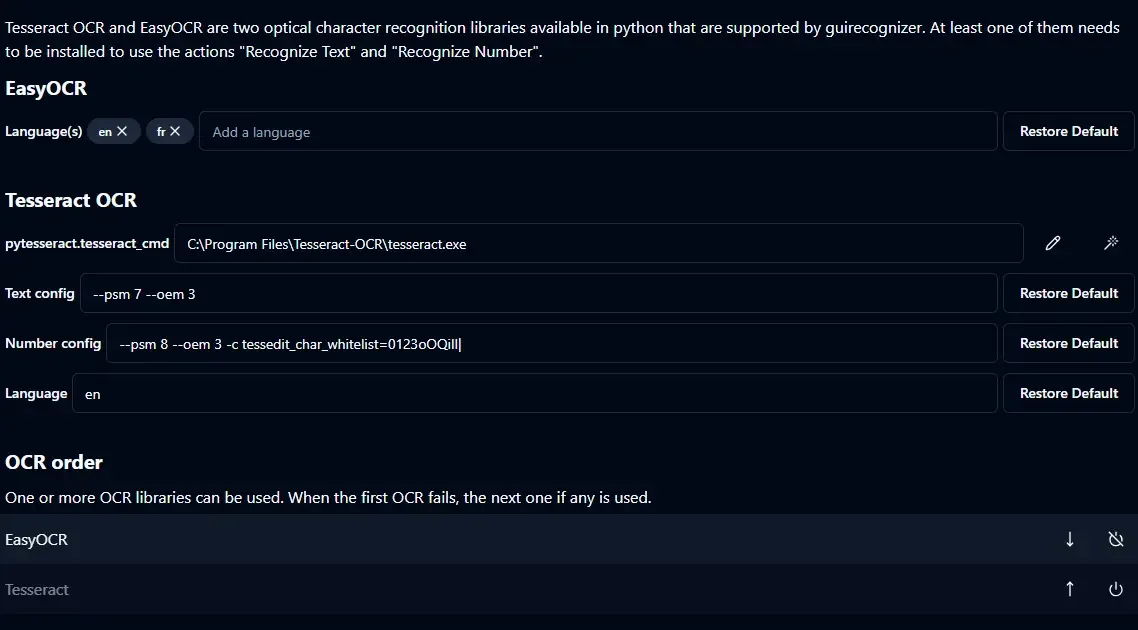
OCR settings.
Define and preview preprocessing
To define a preprocessing operation, use Preprocess -> Add Operation. Then assign it an id. To define its preprocessing suboperations, click on the edit icon.

Define the suboperations of the preprocessing operation by clicking on the edit icon.
Then add the preprocessing suboperations: Preprocess -> Add Suboperation. The available suboperations are explained in the API preprocessing section.
After adding a suboperation, it can be previewed by selecting an area on the screenshot or by choosing one of the existing action selections using the controls at the top.

Example of the preview of a preprocessing operation.
In this example, the suboperation is Grayscale.
A preview image is displayed after each suboperation, allowing you to visually assess its effect.
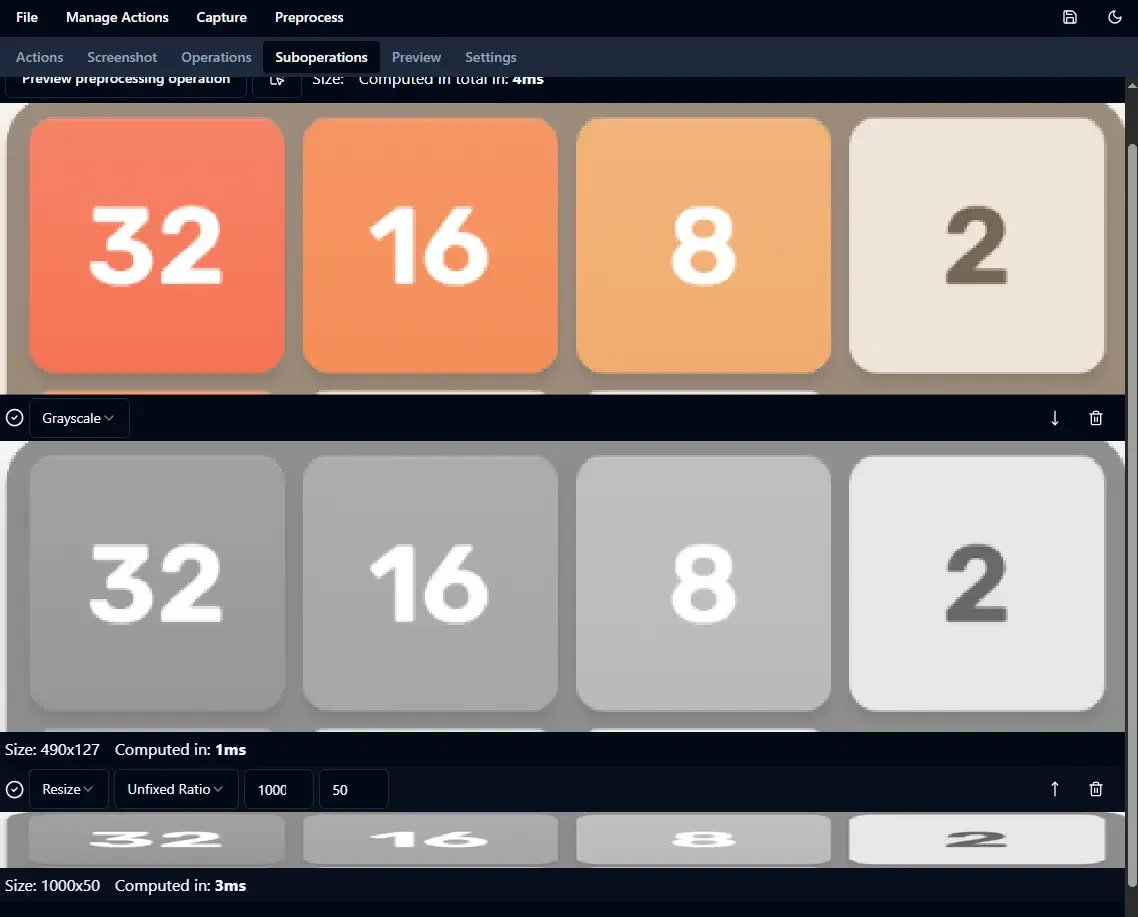
Example of the preview of a preprocessing operation with two suboperations.
In this example, the suboperations are Grayscale then Resize.
The order of suboperations may matter. To reorder, drag and drop the suboperation or use keyboard navigation as explained in the reorder library: https://www.npmjs.com/package/@rodrigodagostino/svelte-sortable-list#accessibility.
Once an operation has been defined with its id, it can be used in the preview of an action. Select the id of the operation to use in the dropdown Preprocess.

The preprocessing operation can be used in an action preview by selecting its id in the dropdown Preprocess.
Creation context
The configuration file may need to be updated or adapted for a new screen configuration. Borders improve reusability and action ids can provide some contextual information. It’s easy to forget or not document how the borders and the actions have been defined. Two features help provide additional context for borders and actions.
Open the creation context modal by clicking on the link icon next to the borders or an action.
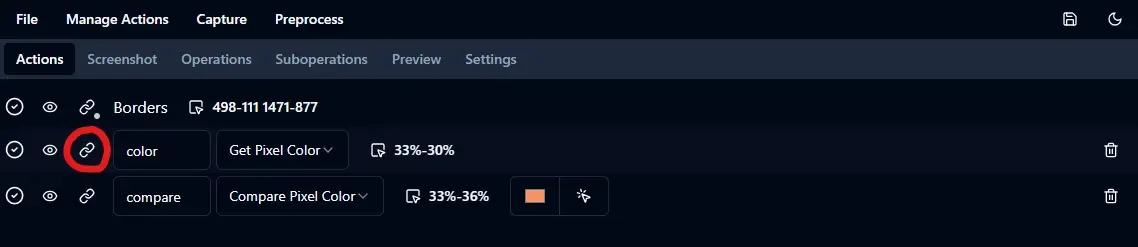
Click on the link icon to open the creation context modal.
Comment
You can add a comment on the borders or any action. Use the textarea to add a descriptive comment.
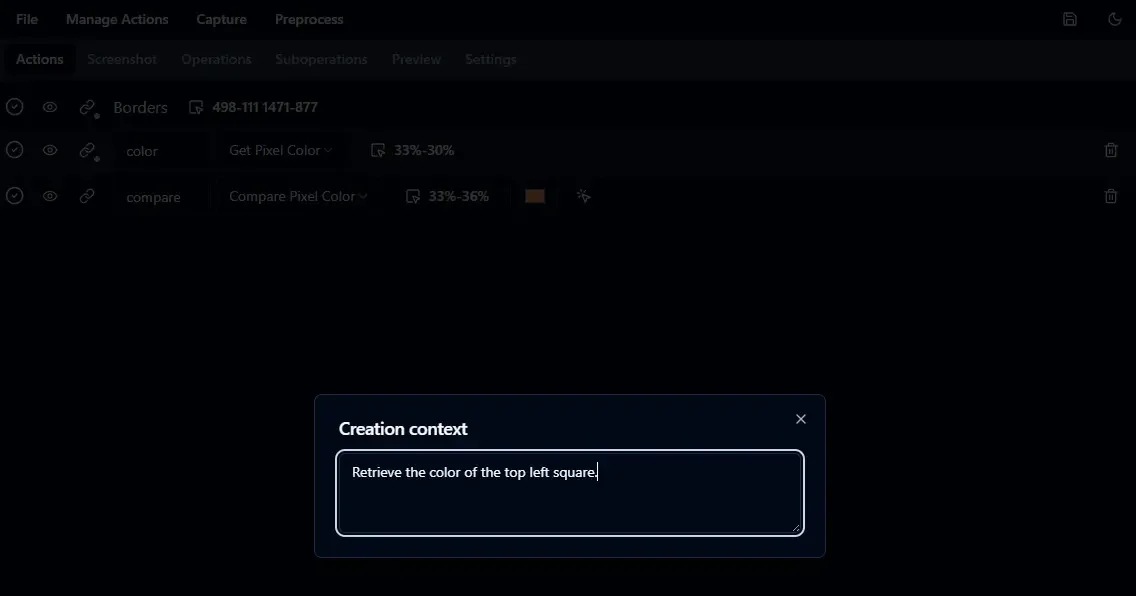
Example of a creation context modal with a comment.
Screenshot used during selection
Sometimes, a picture is worth a thousand words. The screeenshot used at the time of defining the borders or an action brings a lot of information to update or adapt the configuration file.
Depending on the settings, the screenshot used during the borders or the action selection is saved automatically in the configuration file. When the screenshot has been saved, it can be opened from the creation context modal. For privacy reasons, pixels outside the borders at the time of selection are masked.
In the section Screenshot settings of the tab Settings you can choose between saving no context screenshot, saving only the borders context screenshot or saving the context screenshot for the borders and all the actions. Saving context screenshots for all actions may significantly increase the configuration file size.
After making a selection with this option enabled, the context screenshot can be opened from the creation context of the corresponding borders or action. For an action, the context screenshot is opened with the original selection highlighted.
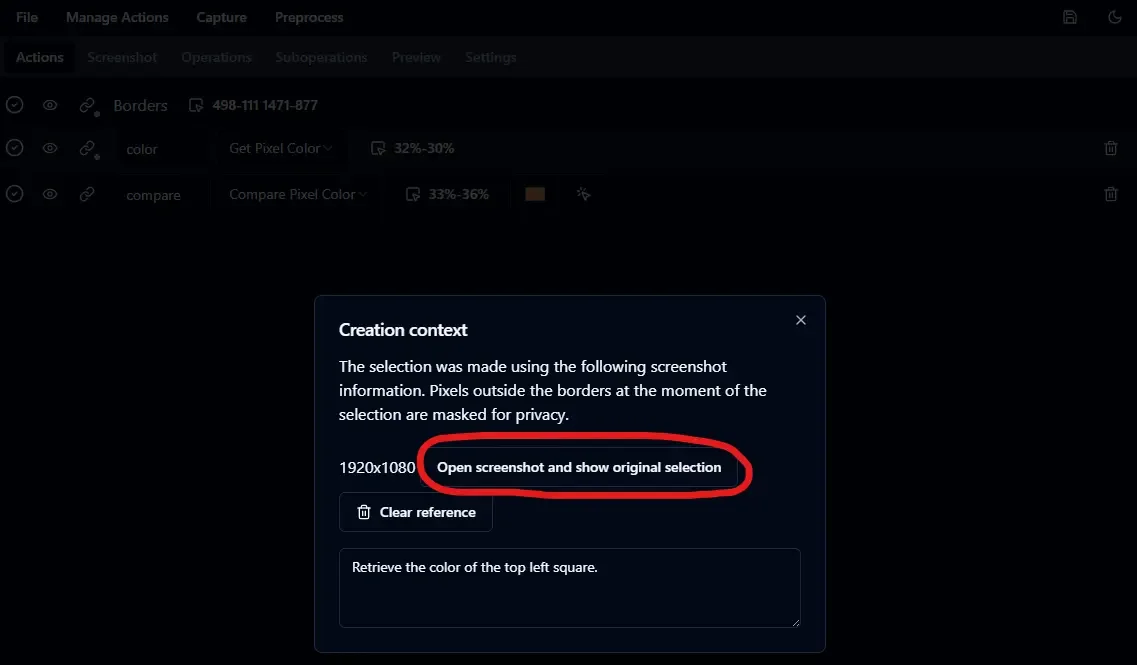
The context screenshot is opened from the creation context modal.