Overview
What is guirecognizer?
The main goal of guirecognizer is to recognize on-screen patterns, such as retrieving a pixel color, computing an image hash over a screenshot area, or finding a specific image. It can also perform basic GUI interactions, such as clicking on screen elements.
These interactions are referred to as actions. For an exhaustive list of available actions, see the API.
Two optical character recognition (OCR) libraries are supported by guirecognizer: EasyOCR and tesseract. For more information, see the API OCRs section.
guirecognizer provides image preprocessing capabilities that can be applied before executing an action. This is especially useful for improving OCR accuracy and reliability. For the exhaustive list of preprocessing suboperations, see the API preprocessing section.
The companion application guirecognizerapp helps you create and preview actions and preprocessing operations through a visual interface, before using them in a Python bot with guirecognizer.
Getting started
guirecognizer relies on a configuration file that defines the actions.
Let’s install the companion application guirecognizerapp to generate a configuration file. This will also install guirecognizer.
(venv) $ pip install guirecognizerapp
Launch the application:
(venv) $ python -m guirecognizerapp
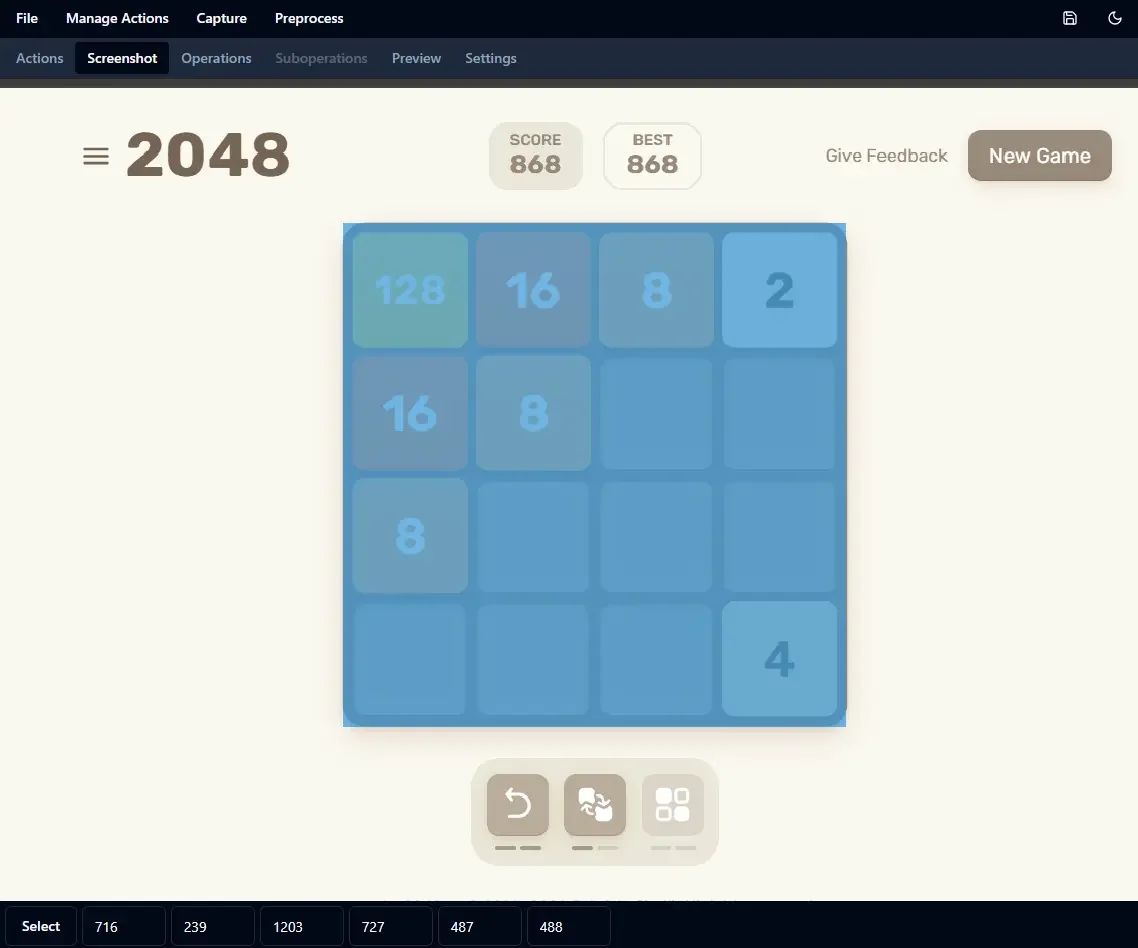
From the application, take a screenshot using Capture -> Take Screenshot or use the keyboard shortcut Ctrl+Alt+T.
The first step is to define the borders. The borders represent the absolute coordinates of the screen region that serve as a reference for all actions. All action selections are defined relative to these borders. This greatly improves the reusability of the configuration file across different screen resolutions or setups.

Click on the Make Selection button to define the borders.
Select an area of the screenshot using the mouse or the controls at the bottom of the interface.
Select the borders on the screenshot.
For the sake of this tutorial, let’s retrieve the color of a single pixel. Create a new Get Pixel Color action: Manage Actions -> Add Action Get Pixel Color. Name your action getColor and select a pixel.
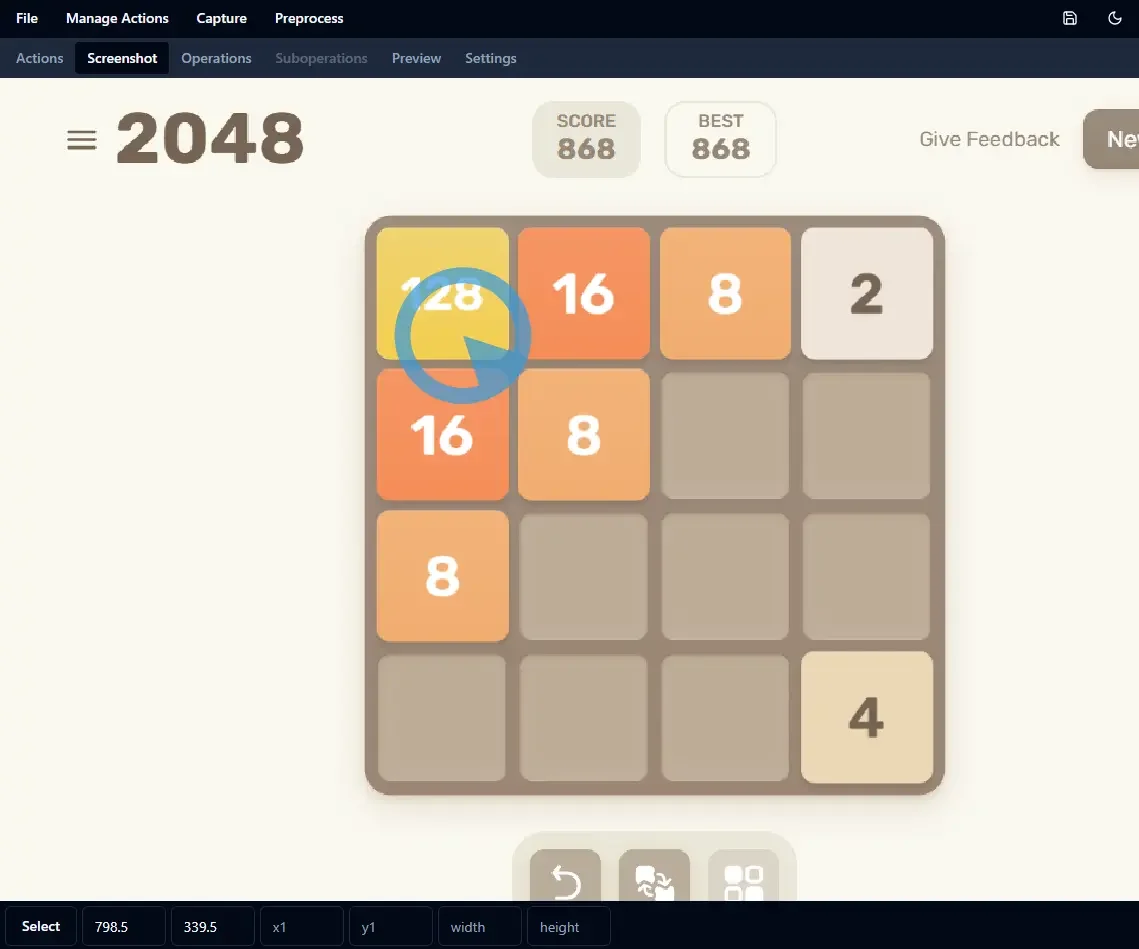
Select a point within the borders on the screenshot.
You can preview the action by clicking on the eye icon.

Preview the action getColor by clicking on the eye icon.
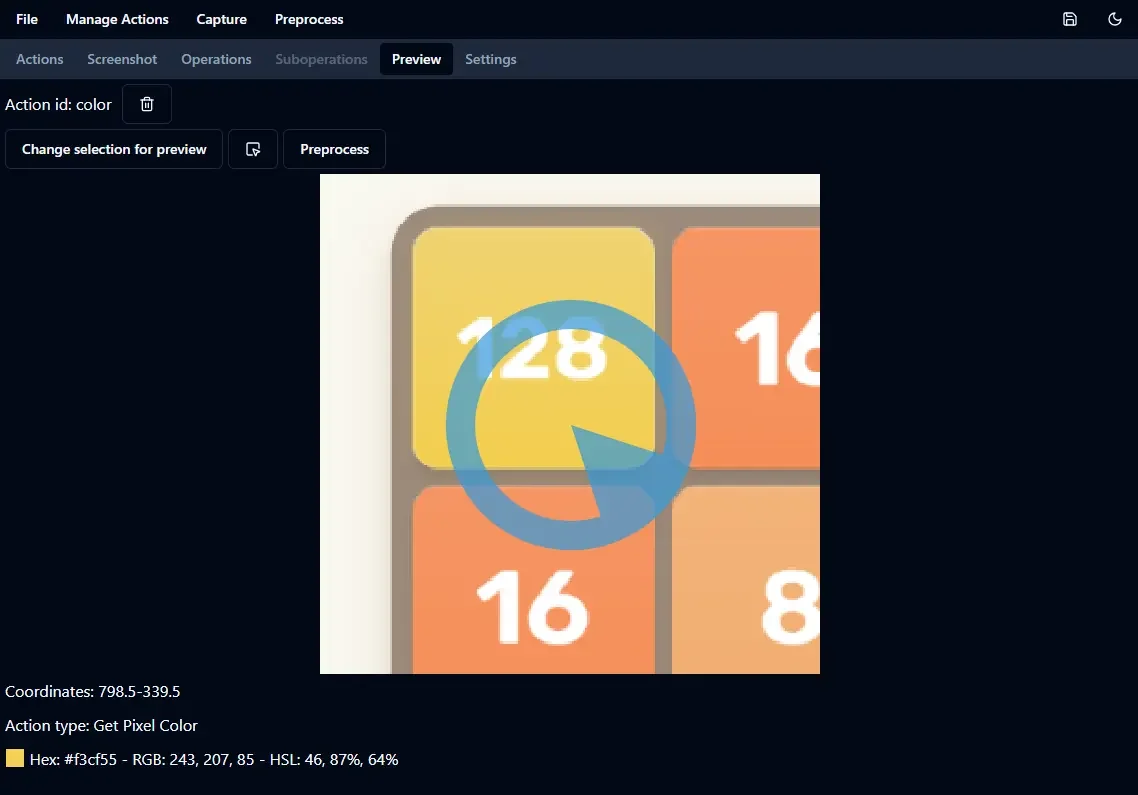
Preview of the action getColor.
The preview shows the pixel color retrieved by the getColor action.
Save the configuration file as guirecognizerConfig.json in your project folder: File -> Save or Ctrl+S. Now the configuration file can be used with guirecognizer.
In your Python script:
1from guirecognizer import Recognizer
2
3recognizer = Recognizer('guirecognizerConfig.json')
4color = recognizer.executePixelColor('getColor')
5print(color)
This produces the following output:
(243, 207, 85)
Congratulations! You have created your first bot with guirecognizer. You can now continue by creating your own bot, exploring the available actions in the API or reading the more detailed bot examples.